
Установка и замена жесткого диска в компьютере: пошаговая инструкция
 авг, 17 2026
Вы когда-нибудь сталкивались с ситуацией, когда компьютер начинает тормозить, а звук «жужжащего» вентилятора становится все громче? Скорее всего, дело в накопителе. Замена или установка нового жесткого диска is a routine task that transforms an aging machine into a responsive tool. Whether you are upgrading to a faster solid-state drive or replacing a failing mechanical drive, the process is straightforward if you know the right steps. This guide walks you through the physical installation and software configuration, ensuring you avoid common pitfalls like static electricity damage or incorrect cable connections.
Что понадобится для работы
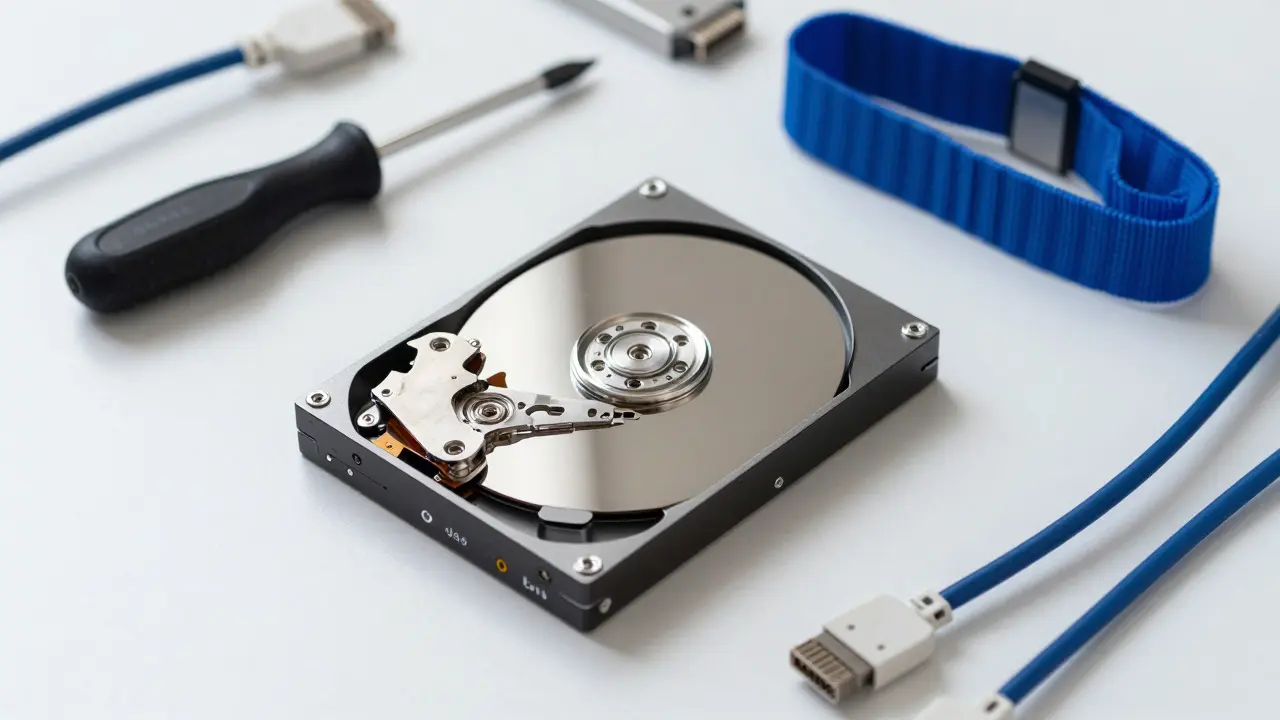
Before opening the case, gather your tools. You don't need a professional kit, but having the right items saves time and prevents frustration. The core requirement is a screwdriver-usually a Phillips #2 for most desktop towers. If you are working with a laptop, a small precision screwdriver set might be necessary depending on the model.
- Phillips screwdriver: For removing side panels and securing drive bays.
- Anti-static wrist strap: Highly recommended to prevent electrostatic discharge (ESD) from damaging sensitive components. If you don't have one, touch a metal part of the computer case before handling the drive.
- SATA cables: Most modern drives use Serial ATA (SATA). Check if your motherboard has spare ports. If not, you may need to buy new data cables.
- Power connectors: Ensure your power supply unit (PSU) has available SATA power connectors. Older PSUs might require adapters.
- The drive itself: A 3.5-inch HDD for desktops or a 2.5-inch SSD/HDD for laptops or smaller desktops.
Подготовка системы к замене
Do not just yank the power cord out. While it is safer than working on live hardware, a clean shutdown protects your data integrity. Shut down the operating system properly. Unplug the power cable from the wall socket. Press the power button on the case once to drain any residual charge from the capacitors. Now, open the case by removing the side panel screws.
Identify where the new drive will go. Desktop cases usually have dedicated 3.5-inch bays near the front or bottom. Laptops have specific slots accessible after removing the bottom cover. If you are adding a second drive rather than replacing one, look for an empty bay. If all bays are full, you might need a mounting bracket or an external enclosure, though internal is always preferred for performance and reliability.
Физическая установка диска
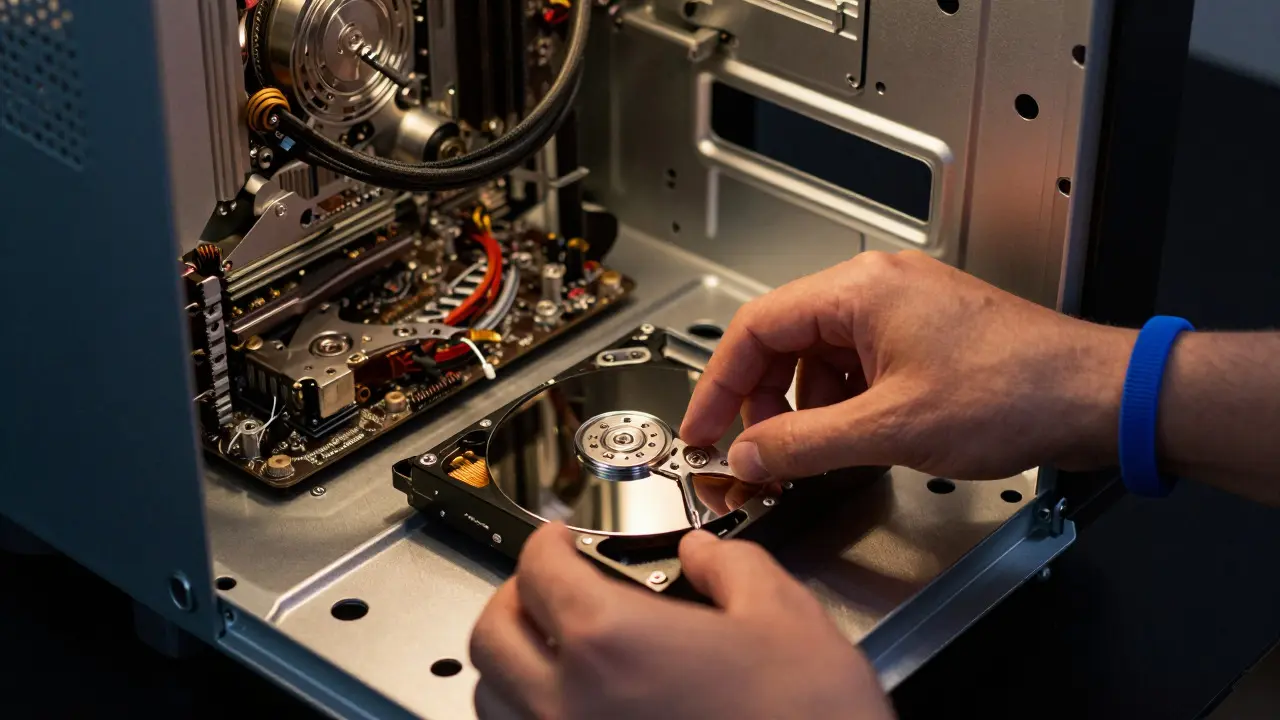
Handling the drive requires care. Hold it by the edges; avoid touching the circuit board on the back. Static electricity is invisible but can kill a drive instantly. If using a wrist strap, clip it to an unpainted metal part of the case. Place the drive into the bay. Align the screw holes. Secure it with two screws per side for 3.5-inch drives. For 2.5-inch drives in a 3.5-inch bay, you may need an adapter bracket. Tighten the screws firmly but do not over-torque, as this can crack the drive casing.
Now, connect the cables. There are two types: data and power. The SATA data cable is thin, with a flat connector. It connects from the drive's data port to a SATA port on the motherboard. The SATA power connector is wider and comes from the PSU. It has a locking tab that clicks into place. Make sure both connections are snug. A loose data cable is a leading cause of "drive not detected" errors.
Настройка в BIOS и UEFI
Close the case, plug in the power, and turn on the PC. Before Windows boots, you need to check if the system sees the new drive. Restart the computer and immediately press the key to enter BIOS/UEFI setup. Common keys are Delete, F2, F10, or Esc. This varies by manufacturer (ASUS, MSI, Gigabyte, etc.).
In the BIOS interface, look for sections labeled "Storage," "SATA Configuration," or "Boot." You should see the new drive listed under connected devices. If it appears, great. If not, recheck the physical connections. Also, verify the SATA mode. Modern systems typically use AHCI mode. Legacy IDE mode is rarely needed today but can cause issues if changed incorrectly. Once confirmed, save changes and exit. The computer will reboot into the OS or boot menu.
Инициализация и форматирование в Windows
If you installed a completely new, unformatted drive, Windows won't show it in File Explorer immediately. You need to initialize it. Right-click the Start button and select "Disk Management." In the window that opens, look at the bottom section. You will see the new disk listed as "Offline" or "Unallocated."
- Right-click the disk label (e.g., Disk 1) and select Initialize Disk.
- Choose the partition style. For drives larger than 2TB, select GPT. For smaller drives, MBR is sufficient, though GPT is generally better now.
- Once initialized, right-click the black "Unallocated" space and select New Simple Volume.
- Follow the wizard: accept default size, assign a drive letter, and choose the file system. Use NTFS for Windows compatibility. Keep the default cluster size.
- Click Finish. The drive will be formatted and ready to use.
If you are cloning an old drive to a new SSD, the process is different. You would use cloning software like Macrium Reflect or Acronis True Image before installing the new drive, or clone directly if the old drive is still functional. After cloning, simply swap the drives and ensure the boot order in BIOS points to the new SSD.
Типичные ошибки и как их избежать
Even experienced users make mistakes. Here are the most common ones:
- Forgetting to disconnect power: Always unplug the PC. Live swapping SATA is possible but risky.
- Loose SATA cable: Wiggle the connection gently. If it moves, it's not secure.
- Wrong SATA port: Some motherboards have multiple versions of SATA (2.0 vs 3.0). Connect to the fastest available port for best performance.
- Ignoring ESD protection: One zap can fry the controller chip. Use a strap or ground yourself.
- Not updating drivers: Usually, Windows handles SATA drivers automatically, but if the drive isn't seen, check Device Manager for yellow exclamation marks.
Сравнение HDD и SSD при установке
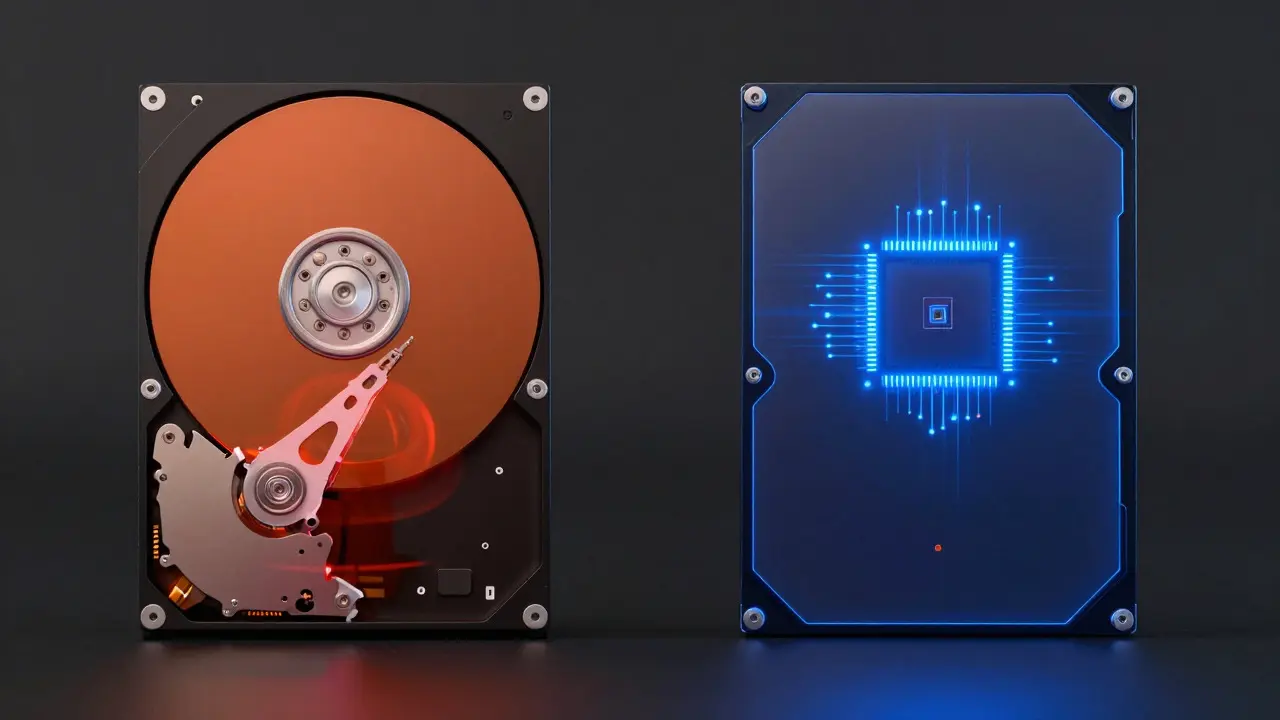
| Feature | HDD (Mechanical) | SSD (Solid State) |
|---|---|---|
| Physical Size | 3.5" (Desktop), 2.5" (Laptop) | 2.5" (SATA), M.2 (NVMe/SATA) |
| Vibration Sensitivity | High - needs secure mounting | Low - less critical, but still secure it |
| Power Consumption | Higher (6-8W) | Lower (2-5W) |
| Heat Generation | Moderate | Low (M.2 NVMe can run hot) |
| Cable Requirements | Data + Power | Data + Power (SATA) / None (M.2) |
Note that M.2 NVMe drives install directly onto the motherboard, eliminating cables entirely. This simplifies the installation process significantly but requires checking your motherboard's M.2 slot availability and thermal pad requirements.
Часто задаваемые вопросы
Нужно ли выключать компьютер перед установкой диска?
Да, настоятельно рекомендуется полностью выключить компьютер и отключить его от сети. Хотя SATA поддерживает горячую замену, риск повреждения контактов и статического разряда слишком высок для обычного пользователя.
Какой тип кабеля лучше использовать для SATA?
Используйте кабели стандарта SATA III (6 Гбит/с). Они обратно совместимы со старыми портами. Избегайте очень длинных кабелей, так как они могут ухудшать сигнал. Прямые или слегка изогнутые кабели предпочтительнее угловых для лучшей циркуляции воздуха.
Что делать, если диск не виден в системе?
Сначала проверьте физические соединения (данные и питание). Затем зайдите в BIOS и убедитесь, что диск отображается там. Если он виден в BIOS, но не в Windows, откройте Диспетчер дисков и инициализируйте диск. Если не виден нигде, попробуйте другой SATA порт или кабель.
Можно ли установить два диска одновременно?
Да, большинство материнских плат имеют несколько SATA портов. Вы можете иметь один SSD для системы и приложений, а второй HDD для хранения больших файлов. Это популярная конфигурация для баланса скорости и объема.
Влияет ли способ крепления диска на производительность?
Для HDD да. Вибрации могут приводить к ошибкам чтения и ускоренному износу шпинделя. Диск должен быть надежно закреплен винтами во всех четырех углах. Для SSD это менее критично, но надежное крепление предотвращает смещение разъема.